How to View Customer Profile in WordPress with Paymattic?
The Customers section of Paymattic will allow you to view your customer profile/s in detail to understand them in a better way. You can see the list of all customers, individual subscription data, the amount spent, site permission status, customer engagement data, customer activity data, and many more.
This article will guide you through using all the features of the Customers section of Paymattic.
Access Customer Profiles
First, go to Paymattic Dashboard from the WordPress Left Sidebar, click the Customers section, and all the features will appear to help you view your overall customer profiles.
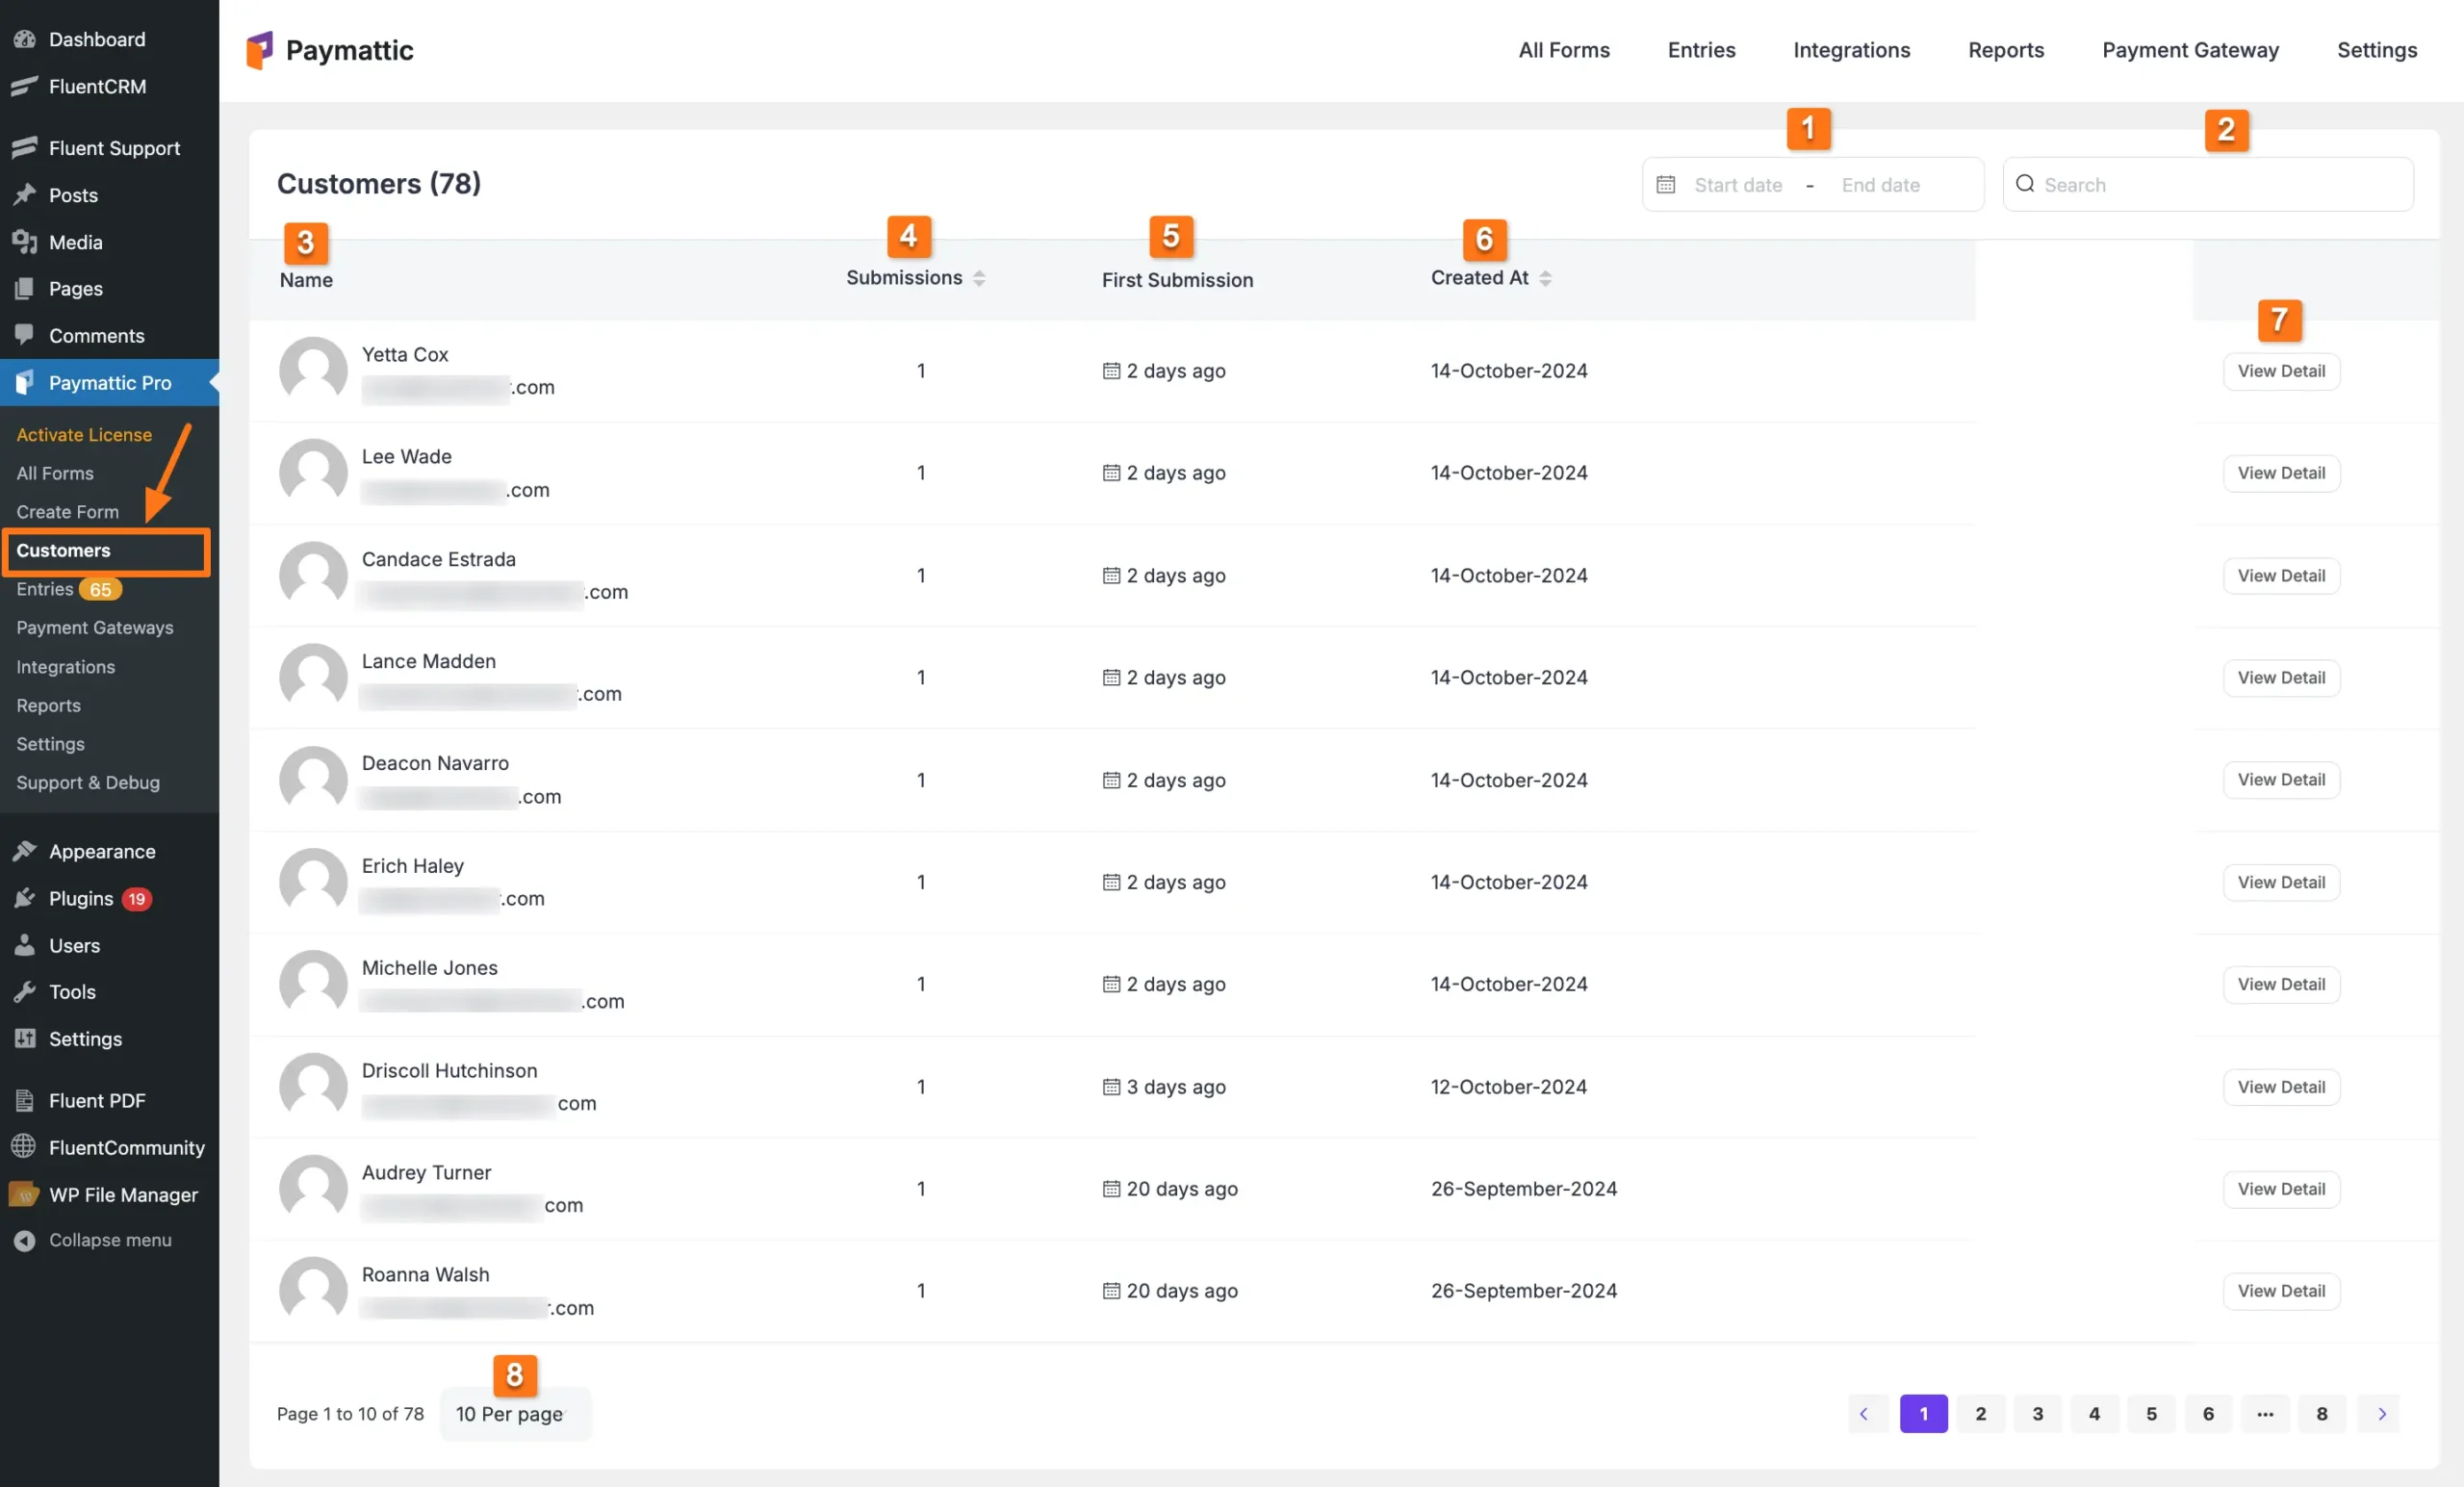
Customer List Features
All the features mentioned above for viewing the profiles of entire customers who submitted Paymattic forms are explained below:
Date Filter
Search Bar
Name
Submissions
First Submission
Created At
View Detail
Pagination
1. Date Filter
With this filter option, you can view customers from a specific period based on dates.
For example, I selected the time frame of 1st to 15th October 2024, and the customers who submitted forms during this period appeared on the Customers page.

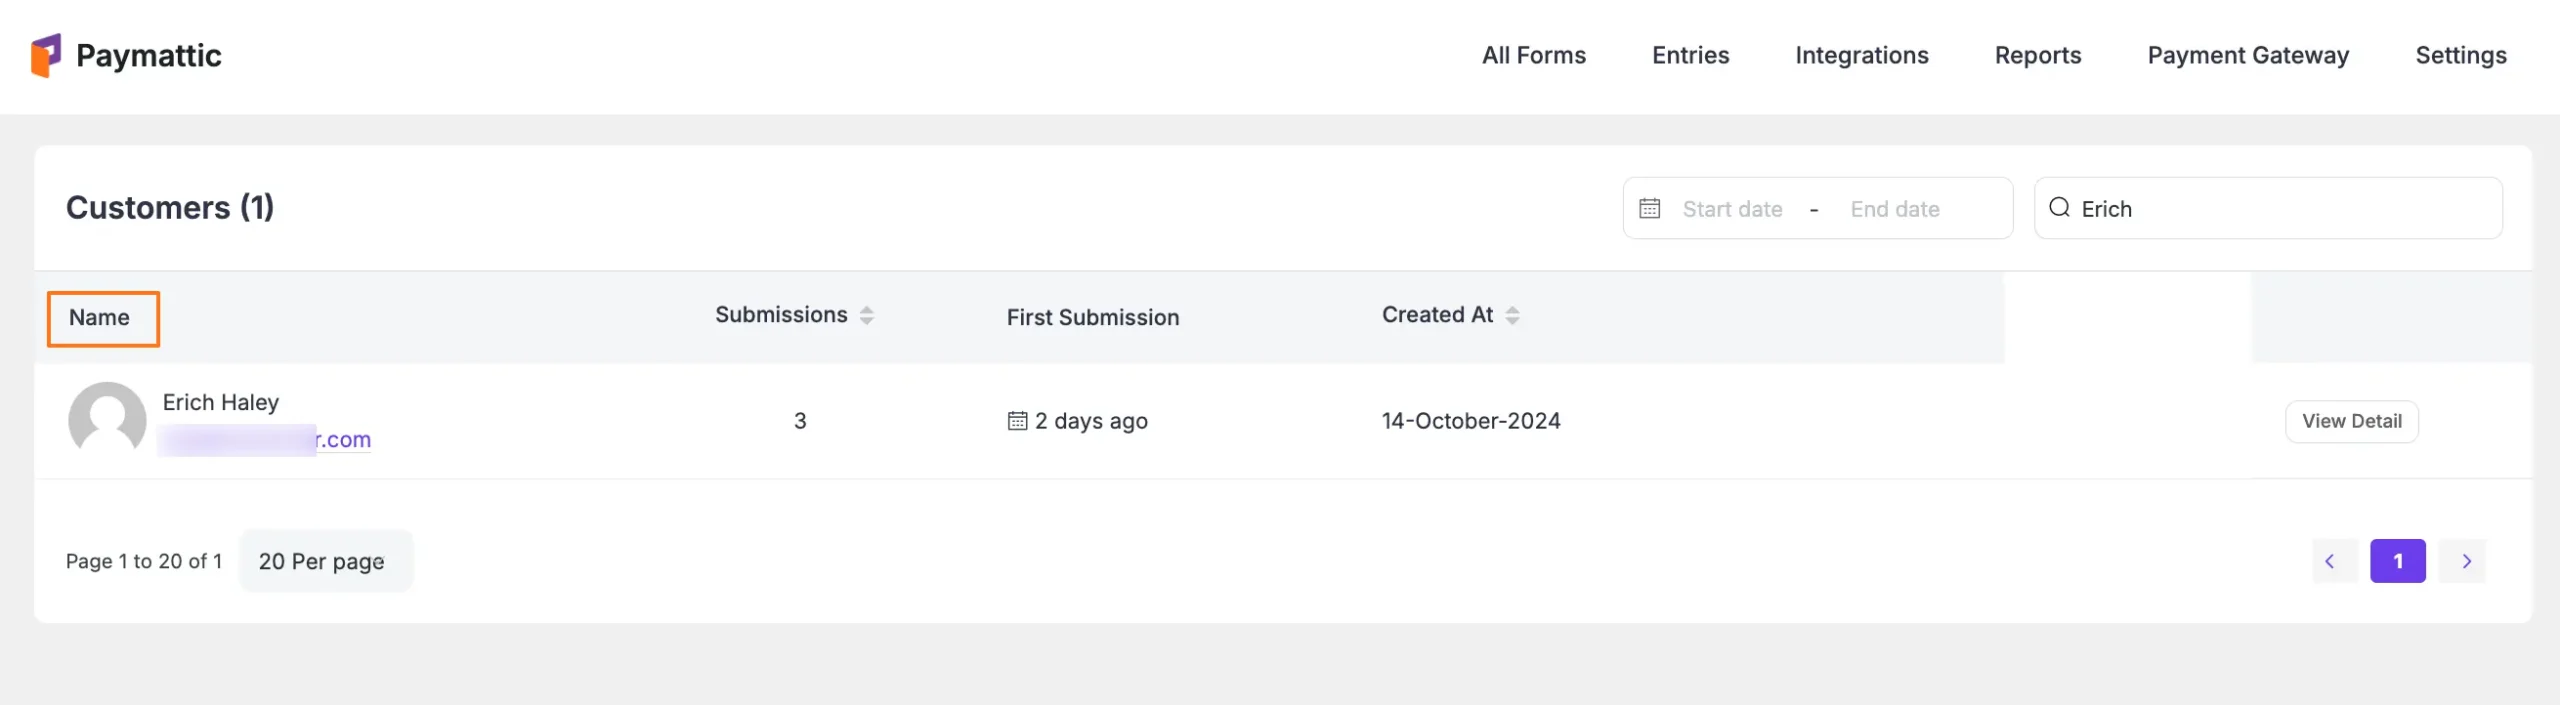
2. Search Bar
Using this option, you can search for specific customers with User Name & Email. For example, here I searched for a customer by name.

3. Name
The Name tab displays the list of customers’ Names and the Email Addresses they used for form submission.
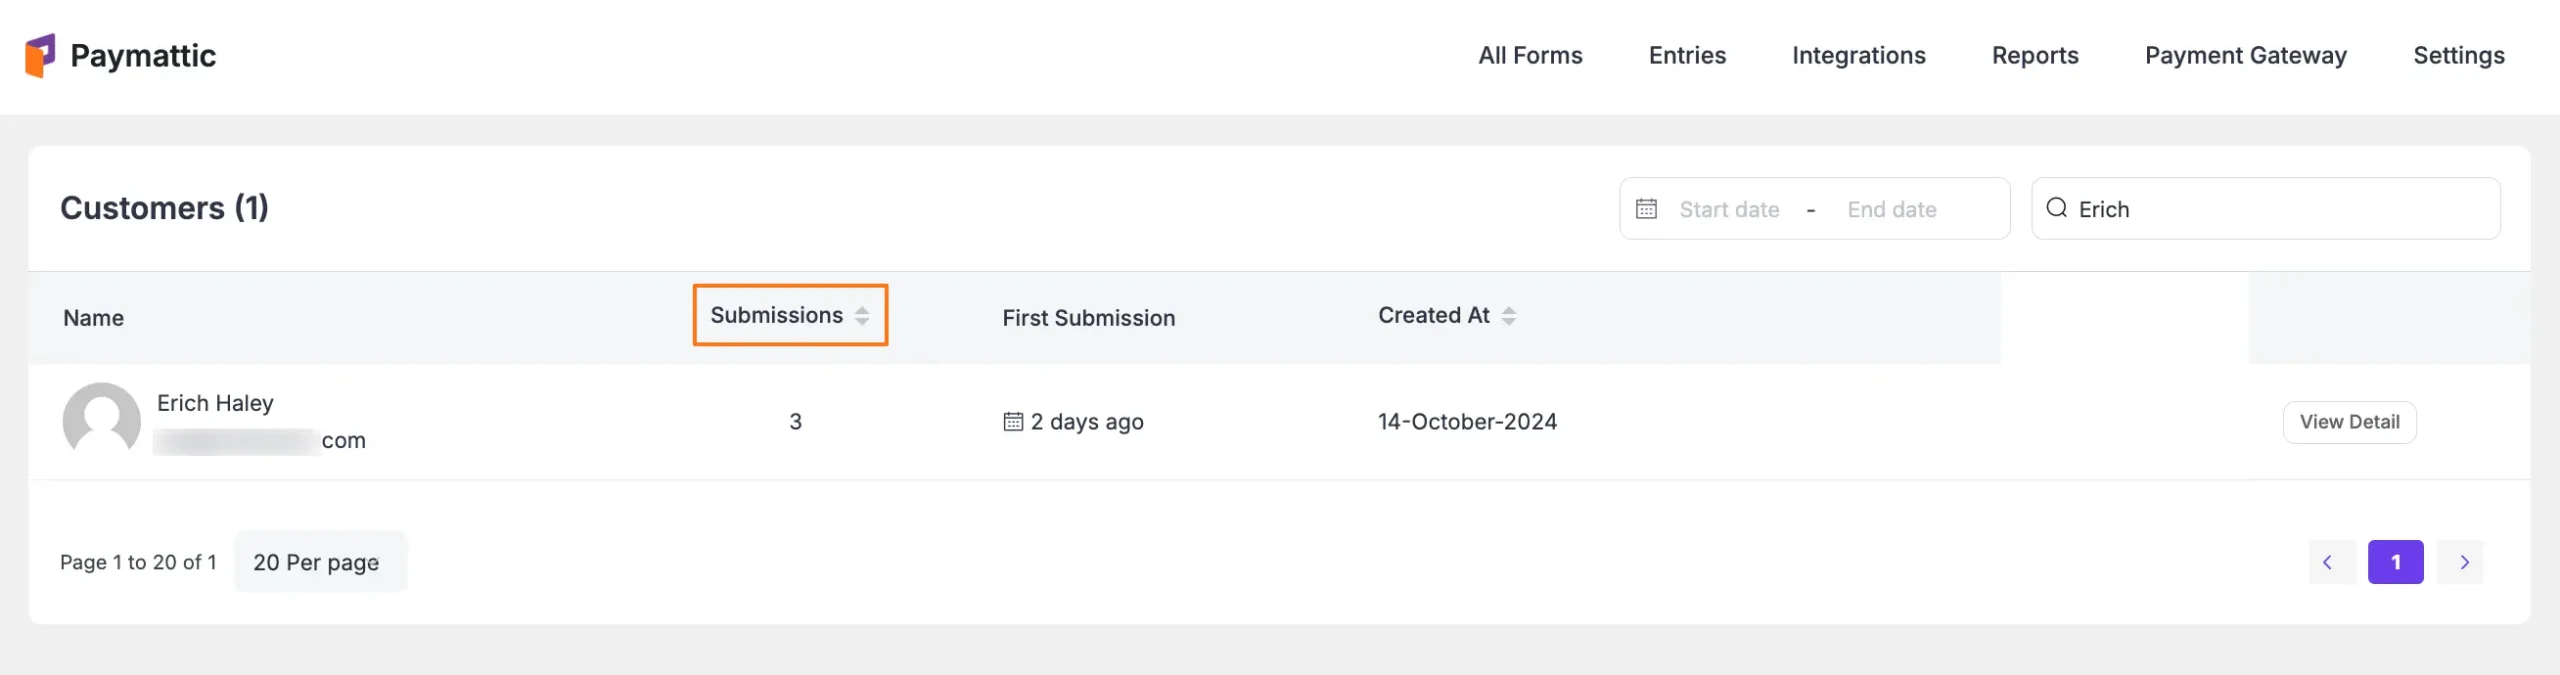
4. Submissions
The Submissions tab shows the total number of form submissions for each customer with the same email.
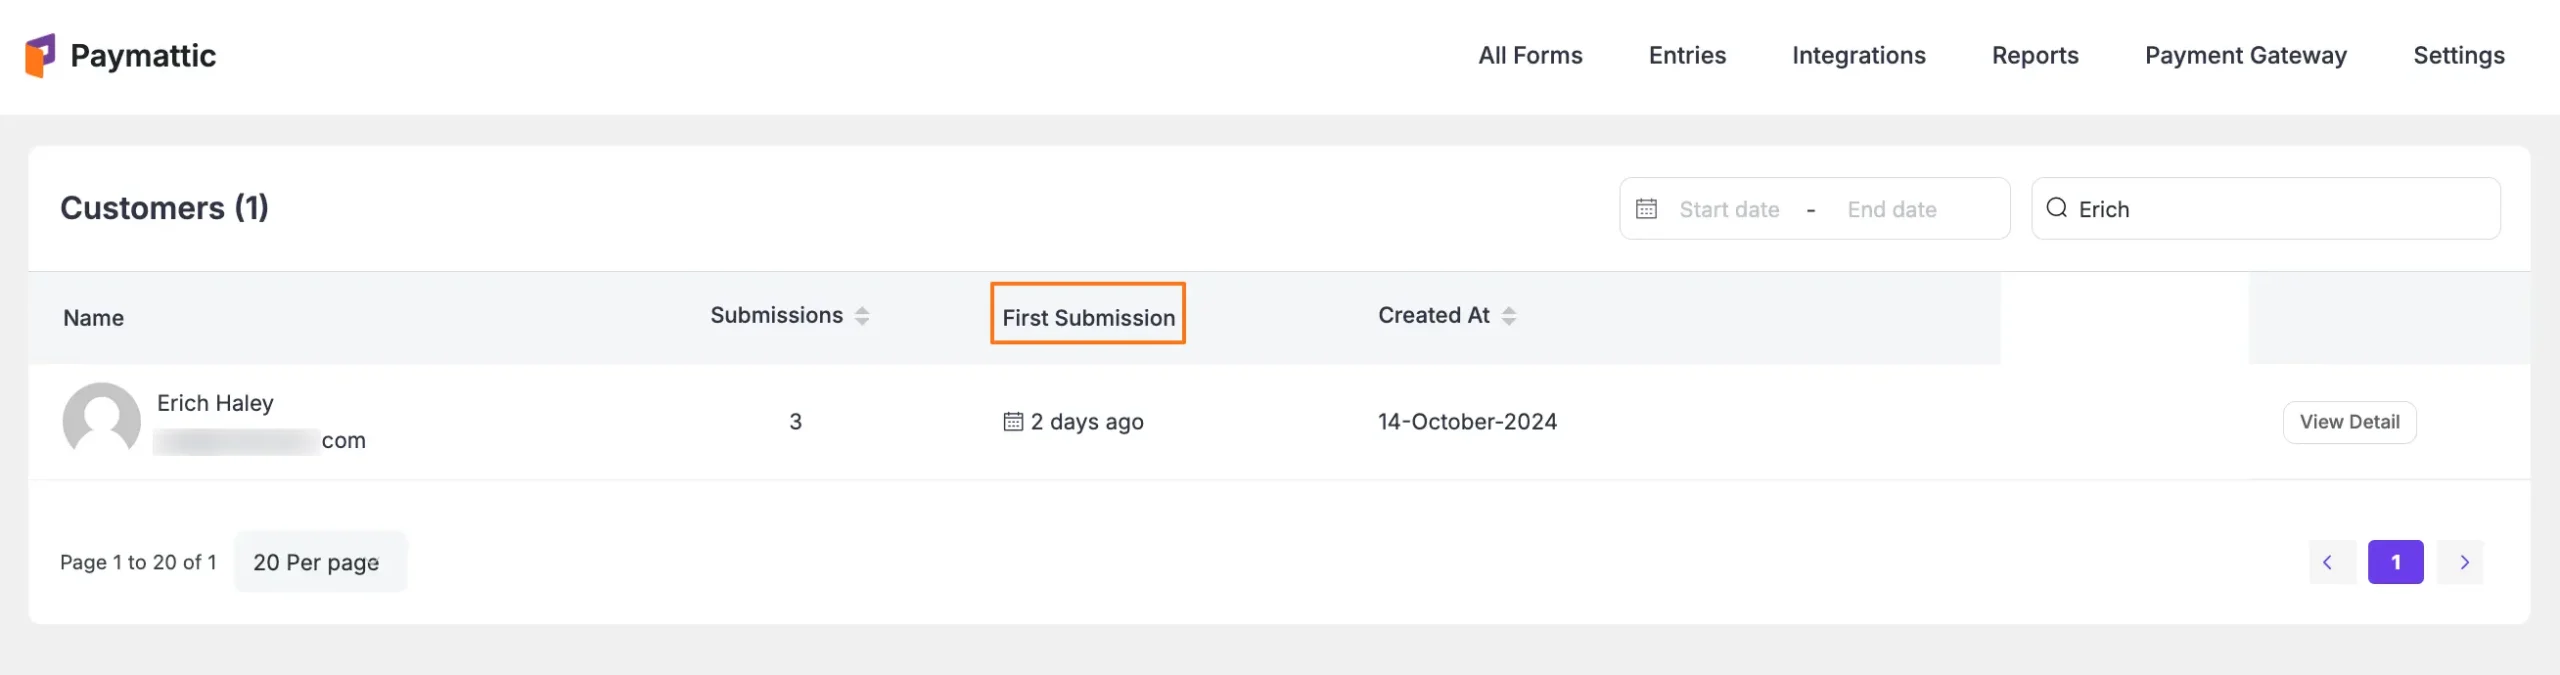
5. First Submission
This tab displays the exact time when a customer submitted his first form.
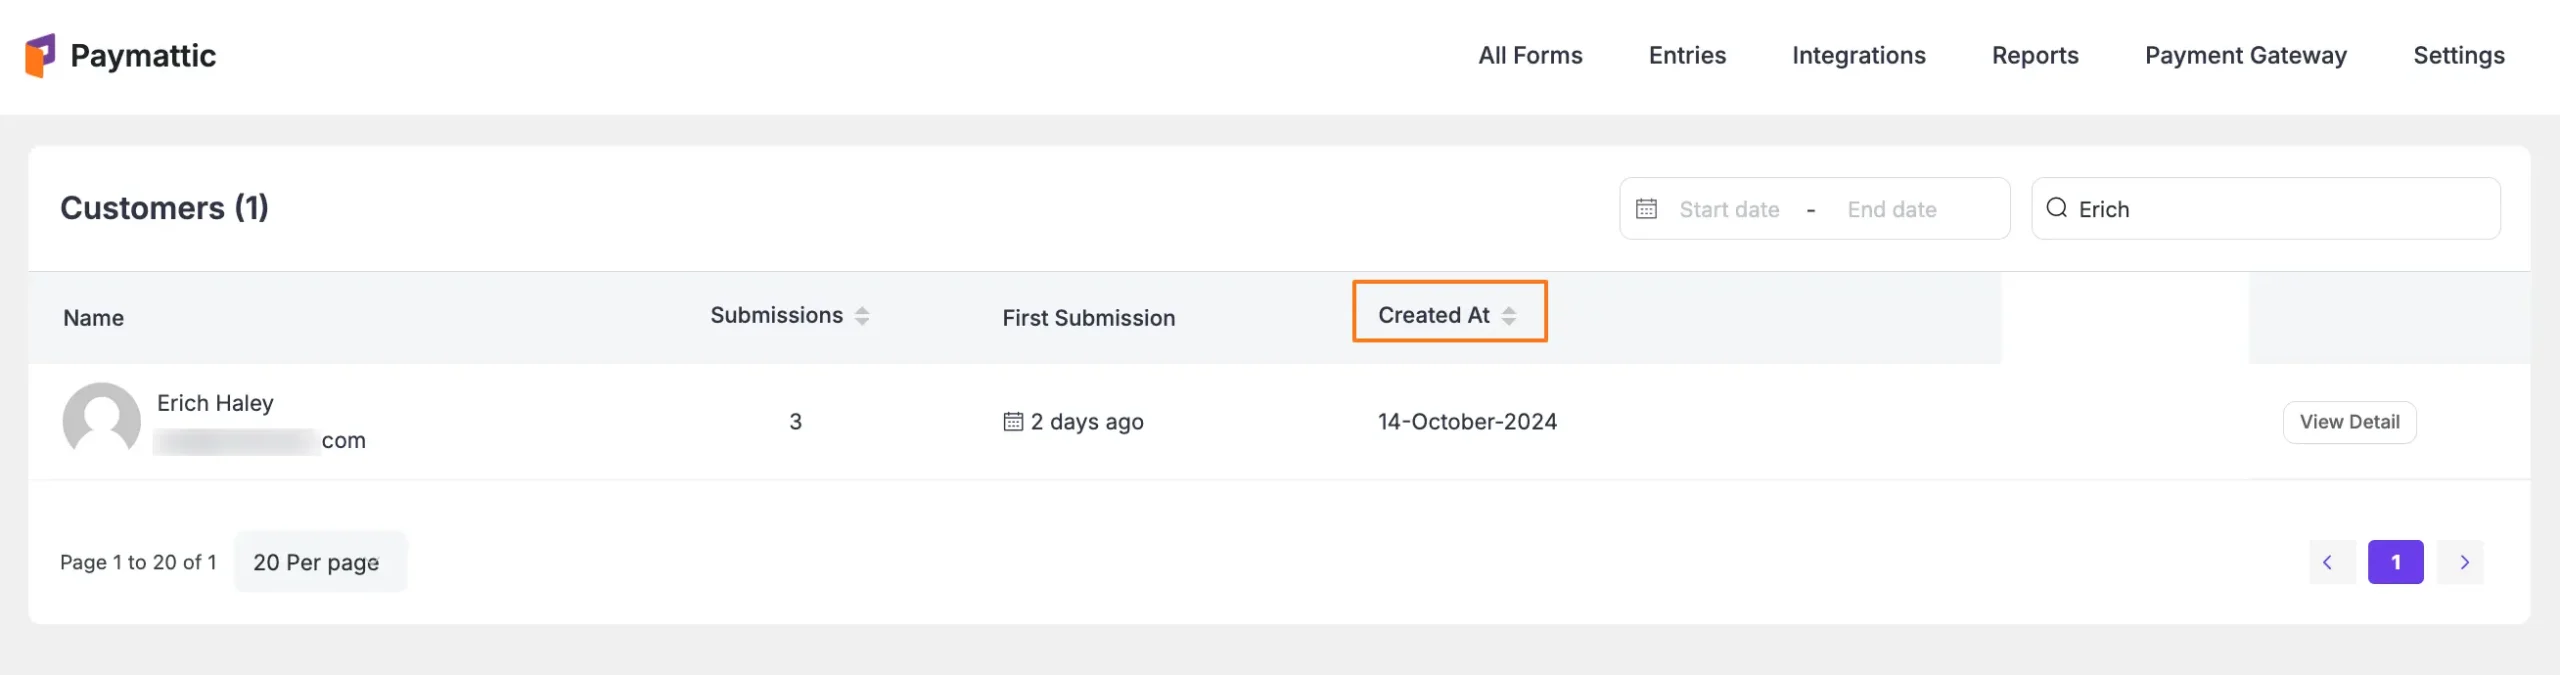
6. Created At
This tab displays the exact date when a customer submitted his first form.
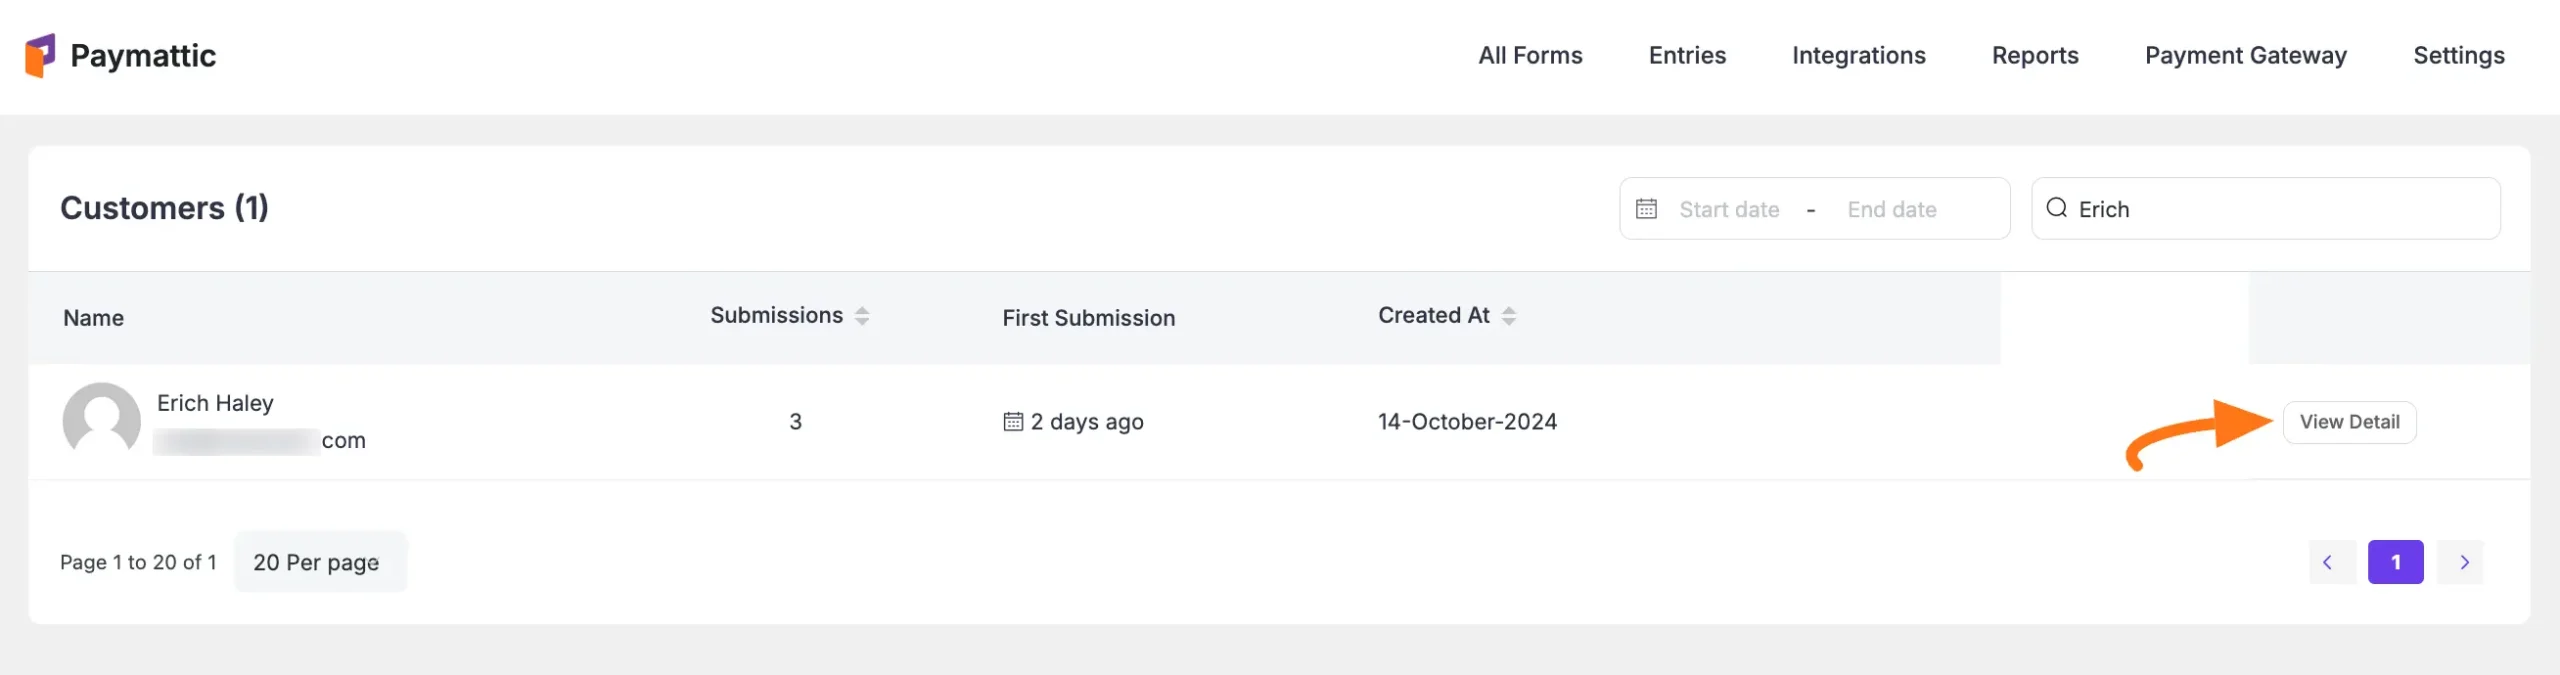
7. View Detail
This button helps you to see each customer profile in detail.
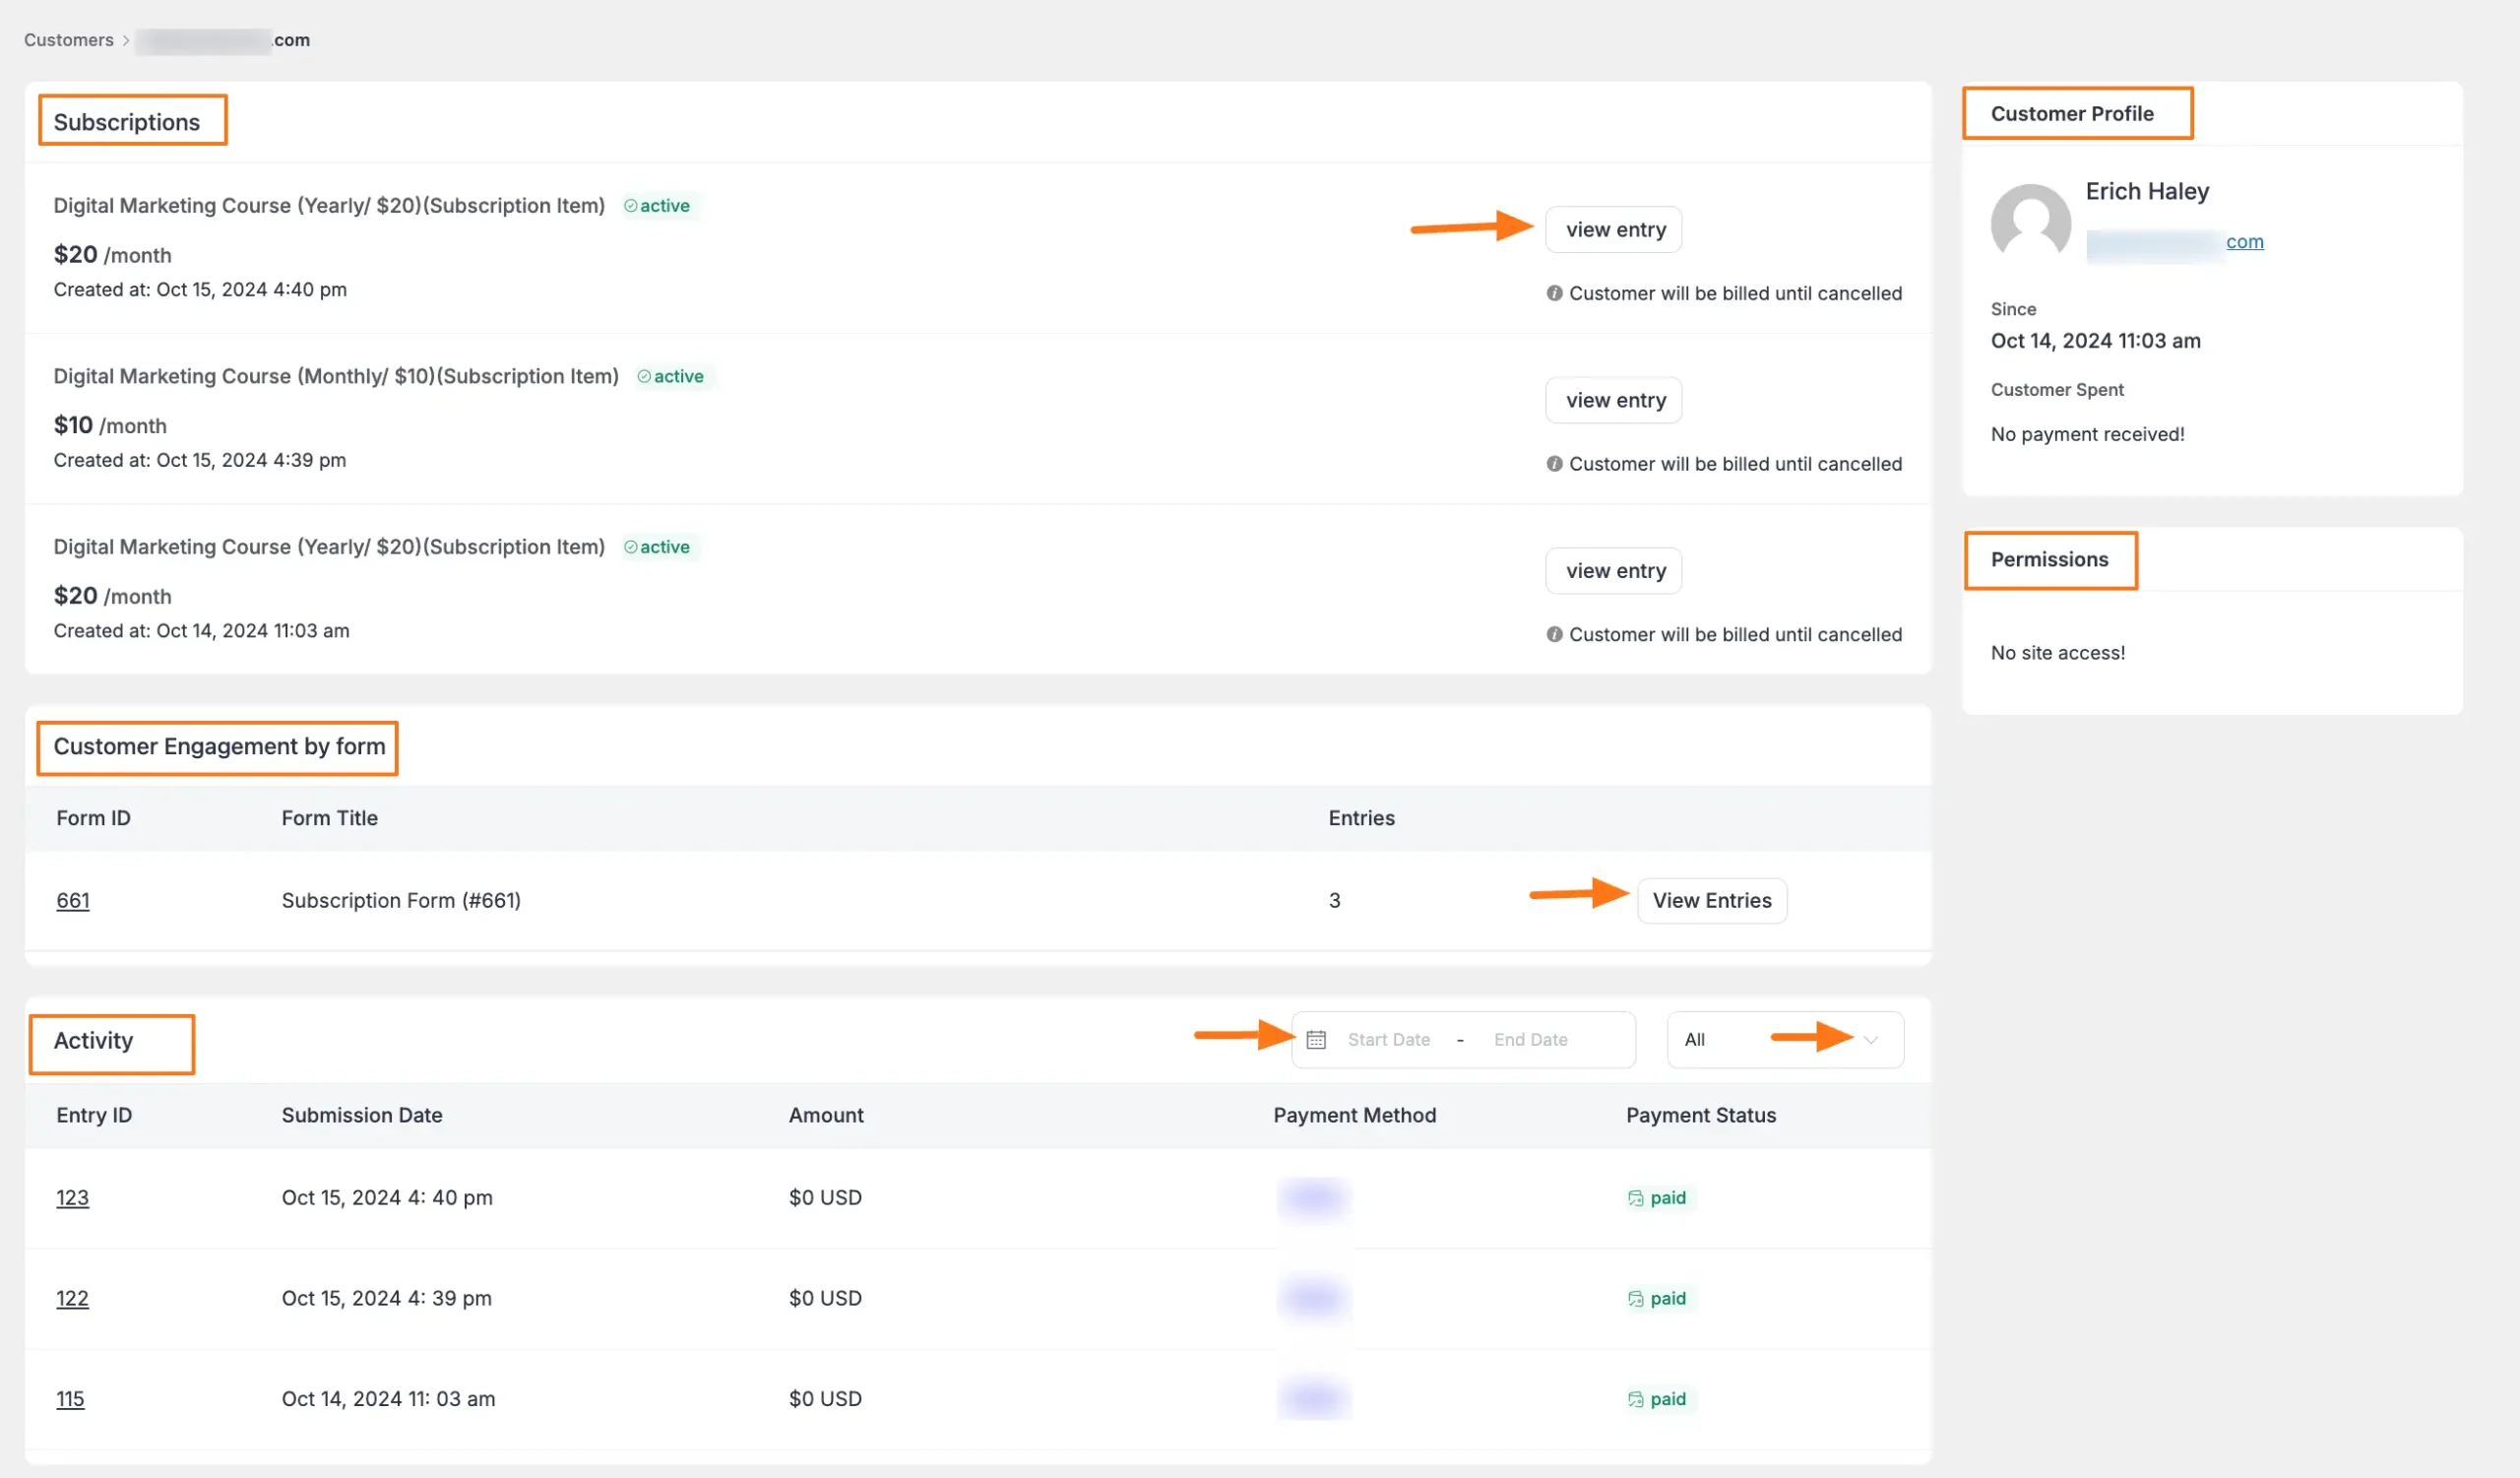
Once you click this button it will redirect you to the detail profile page where you will see the entire detail organized in five major sections. These are:
Subscriptions: Here you will see all the Subscription-related details. Such as subscription item details, submission date, and submission status. Plus, you can visit each submission entry by clicking the view entry button. To learn more about single submission entries, Click Here.
Customer Engagement by Form: Here you will see the submitted form’s ID, Title, and all Entries under this specific form. By clicking the View Entries button you can see all the entries in one place. To learn more about viewing and managing all form entries, Click Here.
Activity: Here, you can see the submitted form’s Entry ID, Submission Date, Payment Amount, Payment Method, and Payment Status based on the Date and Payment Status filters.
Customer Profile: On the left-hand side, you can see the details about the Customer’s Name, Email, exact time and date of the First form Submission, and the amount of money the customer spent and received.
Permissions: You can see what permissions you gave to these customers on the left-hand side. To learn more about user roles and permissions, Click Here.
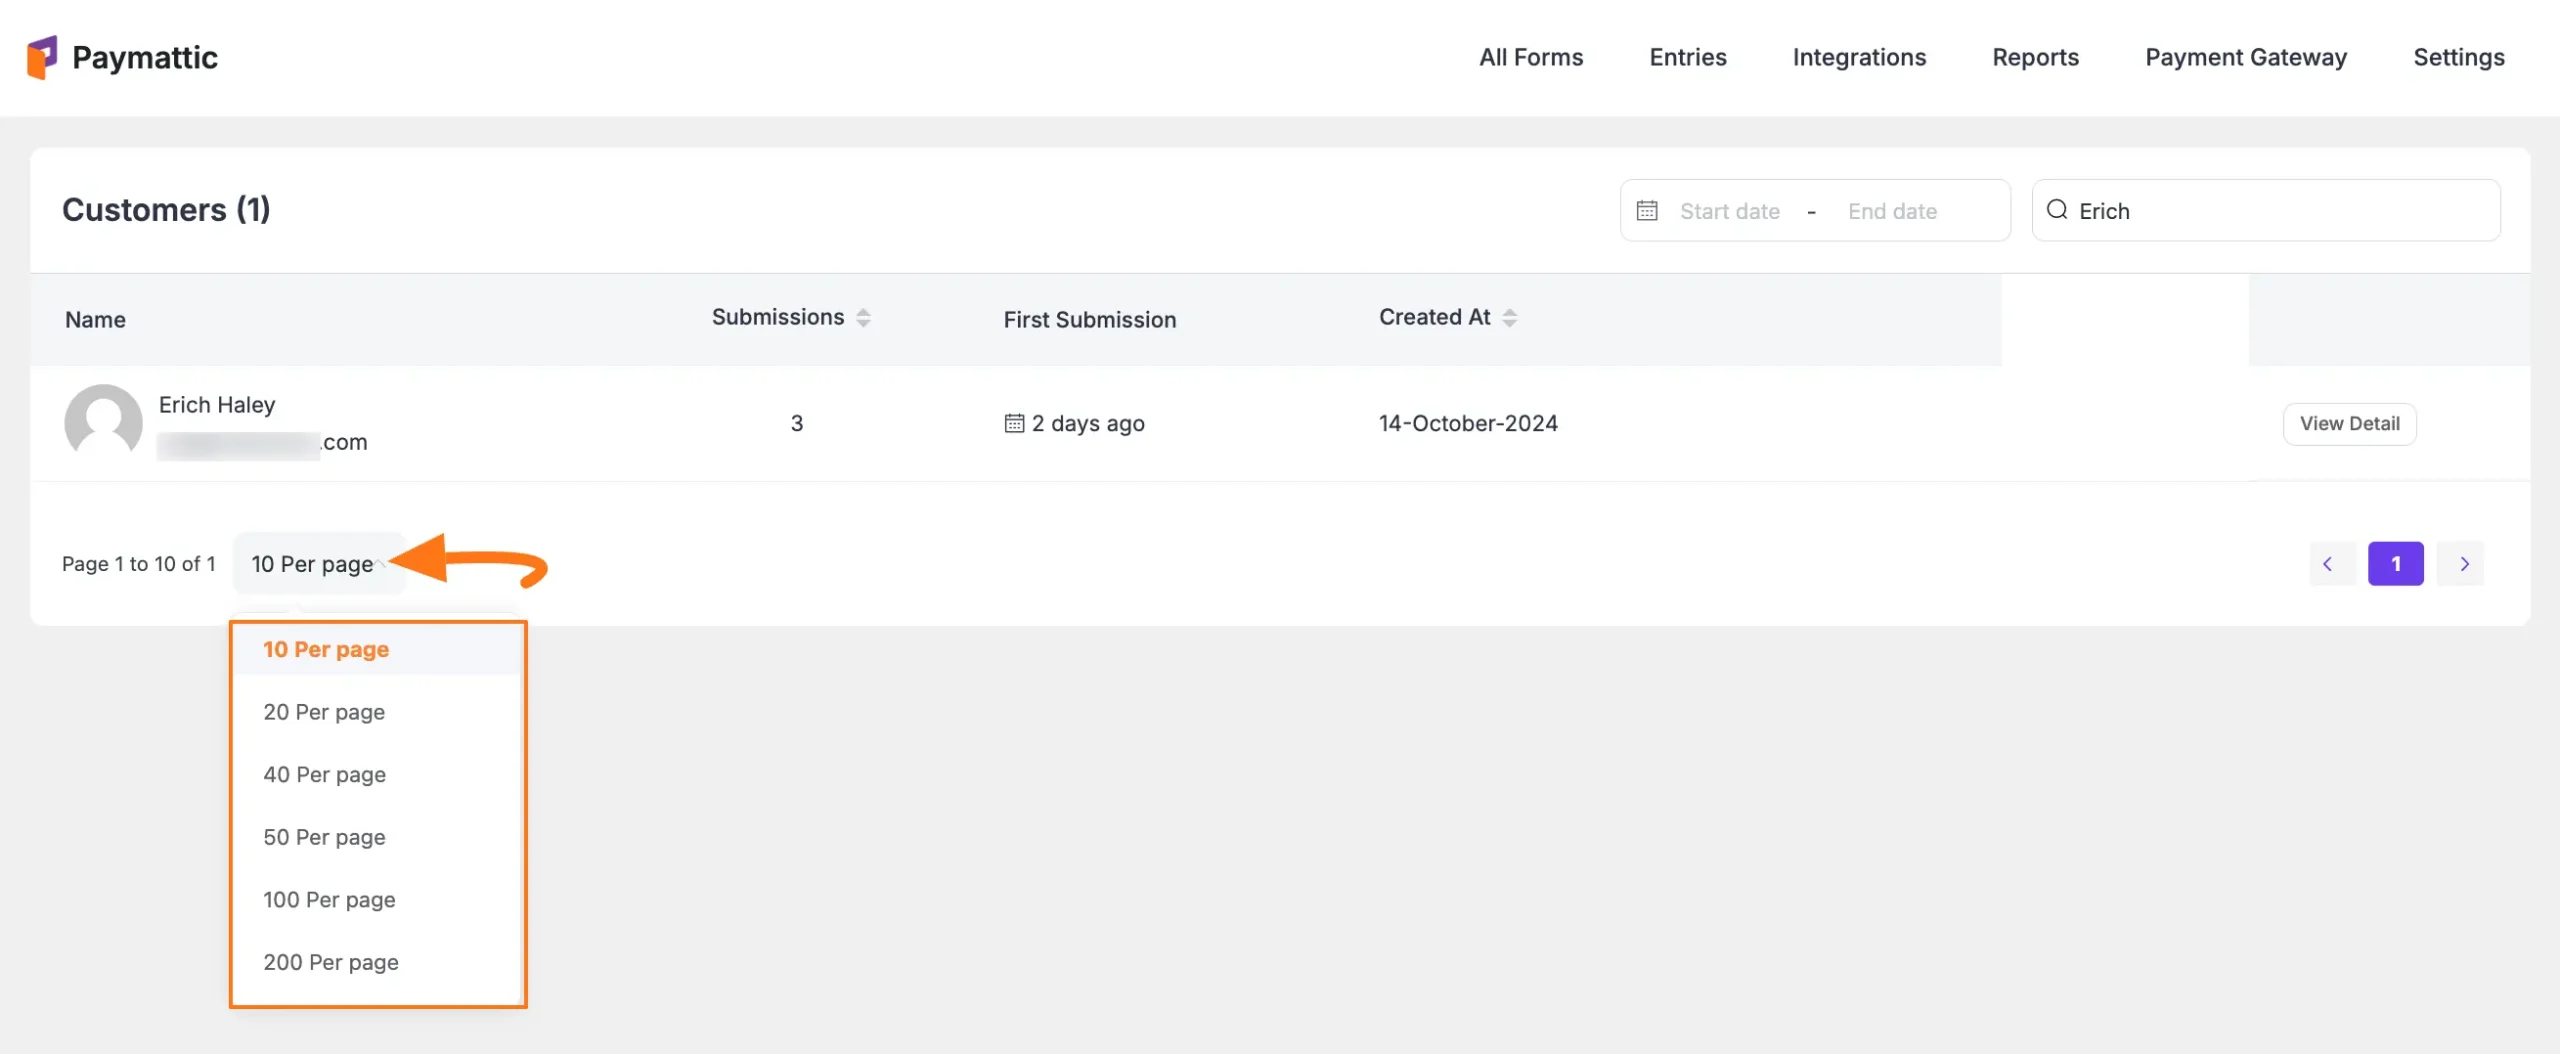
8. Pagination
With this option, you can set how many customers you want to display per page
Need Help?
If you have any questions, concerns, or suggestions, please contact our support team.